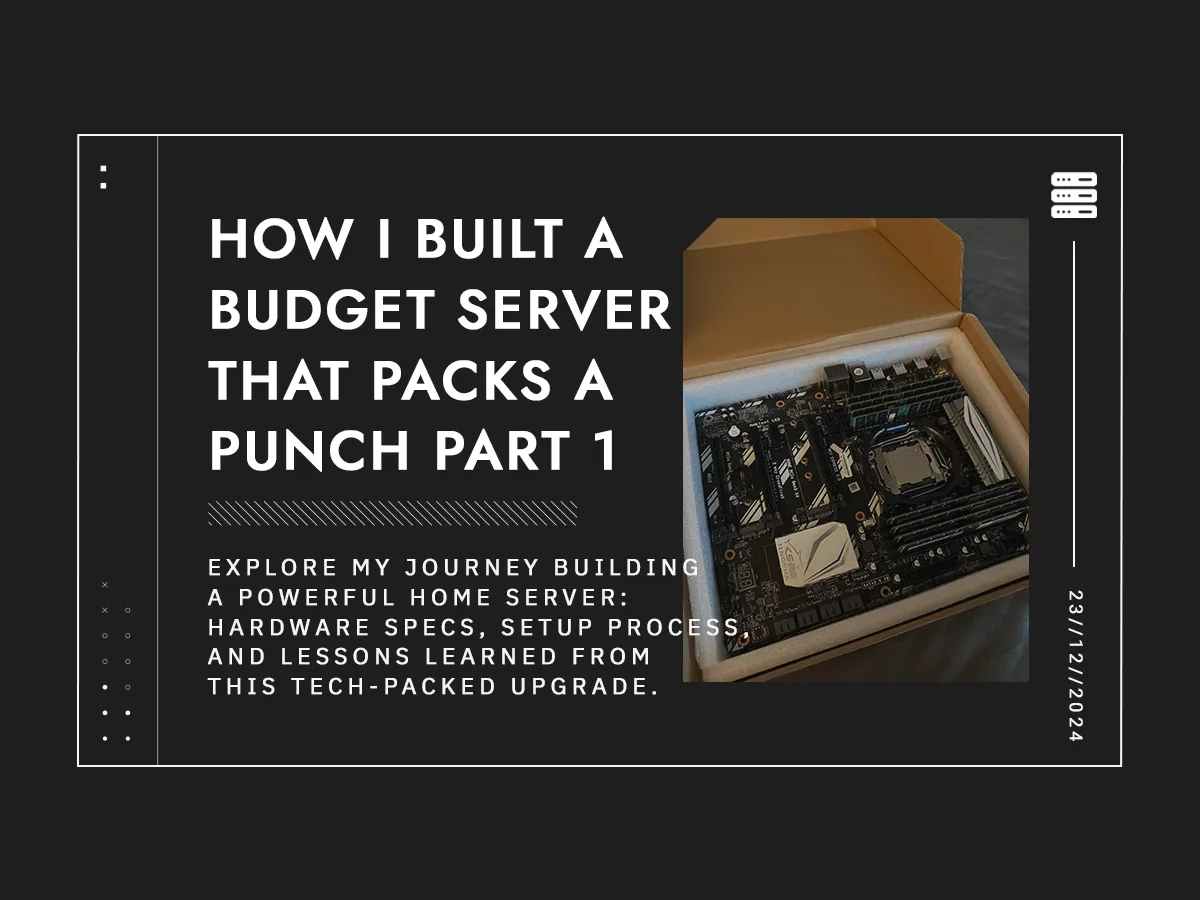
How I Built a Budget Server That Packs a Punch Part 1
Preamble
Lately, I’ve been finding myself grumbling more and more about how sluggish my old HP Z600 server has become. With its aging SATA 2.0 ports and 1066 MHz RAM, it’s clear the hardware is holding me back. While I’ve been talking about upgrading since 2023, the costs of squeezing more life out of this system just didn’t seem financially reasonable.
As someone who follows a fair share of tech YouTubers, I stumbled across a video showcasing a budget server build using parts sourced from AliExpress. It immediately caught my attention—it felt like the perfect mix of practicality and experimentation, and honestly, it’s right up my alley.
So, this time around, I’ll be diving into an AliExpress-centric build, sourcing most of the key components from there. A few parts, like the chassis, storage and power supply, will be sourced locally—either because of outrageous shipping costs, straight up scams or for safety considerations.
I will be splitting this whole project into multiple parts.
Let’s dive into the details of the build, from the hardware choices and pricing to setting up Proxmox and organising virtual machines and containers.
Requirements of the New Server
Let’s face it—my old HP Z600 server is basically the IT equivalent of a grandpa still trying to win marathons in flip-flops. Sure, it technically works, but between the aging dual Xeon X5660 processors, sluggish 1066MHz DDR3 RAM, and the fact that it guzzles power like a frat bro at a beer fountain, it’s time for an upgrade. So, here are my non-negotiables for this new build:
1. Enhanced Processing Power
The current setup runs on dual Intel Xeon X5660 CPUs, offering a total of 12 cores and 24 threads. Back in 2010, that was considered pretty spicy. Today? Not so much. It’s like running a Formula 1 race with two lawnmower engines. The upgrade will swap these out for a single Intel Xeon E5-2690 v4—a beast (well, at least compared to the previous CPUs) with 14 cores and 28 threads, a 2.60 GHz base clock, and a turbo speed of 3.50 GHz. Plus, it boasts a 35MB Smart Cache, which basically means it can keep more important “stuff” closer for faster access. Oh, and did I mention it does all this while sipping power at 135W TDP? That’s right, one processor doing more than two old ones combined, with less heat and power draw. Efficiency level: Jedi Master.
2. Better Power Efficiency
Speaking of power, the old dual Xeon setup pulls a combined 190W TDP under load. That’s a lot of juice for a performance level that feels… underwhelming. The new Xeon E5-2690 v4 comes in at a far more manageable 135W TDP. It’s not just about saving on the electricity bill—it’s also about generating less heat, which means less noisy cooling and fewer moments of me wondering if my server room is slowly becoming a sauna.
3. Expanded and Faster Memory
The current server rocks 96GB of DDR3 ECC RAM running at 1066MHz, which, let’s be honest, is about as fast as a sleepy tortoise trying to climb a hill. The new build will crank things up to 256GB of DDR4 ECC RAM at 2133MHz. That’s not just more memory—it’s faster memory. Think of it like upgrading from a slow drip coffee maker to a turbo-charged espresso machine. For tasks like virtualization and container orchestration, this upgrade isn’t just nice—it’s a long overdue necessity.
4. Improved Storage Capacity
Here’s a fun fact: the HP Z600 motherboard supports only five onboard SATA ports. Translation? I’ve been playing a game of musical chairs with my storage drives for far too long. Having SSDs dangling mid-air in the chassis is not a good sight. The new motherboard will support 8 onboard SATA ports, giving me enough room to plug in more drives without having to rely on an HBA (Host Bus Adapter). Plus, the new chassis will be selected specifically to hold at least eight hard drives. This means more storage, better organization, and fewer tangled cables looking like a plate of spaghetti inside the case.
5. Advanced Virtualisation Support
Virtualization is the backbone of my server setup, and any hardware upgrade needs to handle it like a pro. The new server must support IOMMU (Input/Output Memory Management Unit), along with other virtualization technologies. Why does this matter? Because I want my virtual machines to have direct access to GPUs, storage, and other hardware resources without playing middleman with the host system. If you’ve ever tried passing through a GPU to a Windows VM without proper IOMMU support, you’ll understand why this isn’t up for negotiation.
6. Capable of Running Concurrent Workloads
This isn’t just a server—it’s essentially going to be the Swiss Army knife of my home lab. It needs to handle:
- 80 Docker containers running WordPress instances.
- Web servers dishing out pages via Nginx, Apache, and backend services like PHP, SQL/PostgreSQL, and Node.js/Next.js.
- Plex Media Server with hardware transcoding (Because my Linux ISOs serves a handful of users and buffering is a crime).
- Immich, which keeps my photo and video library neatly organized.
- 80 additional self-hosted web apps, managed through tools like Portainer. Other services like Homepage, and Glances, which my current server is already hosting, should also be migrated.
- A Windows 10 VM capable of running tools like ScreamingFrog for performance testing and security scans.
Bonus points if that Windows VM can also handle light gaming—because hey, why not?
Basically, I need a digital butler that can serve media, host apps, crunch data, and still have enough headroom to spin up new virtual machines without breaking a sweat.
7. Noise Control
Finally, there’s the small matter of sound. The old server sometimes sounds like a jet engine taking off, and that’s not ideal when it’s sitting a few meters away from the dining room and can be heard from the living room when there is high load. The new build needs to stay quiet and efficient, balancing cooling performance with noise control. No more sounding like I’m living next to an airport hangar.
This server upgrade isn’t just a vanity project—it’s a necessary step forward. It’s about building something reliable, powerful, and energy-efficient that can grow with my needs while keeping my workflow smooth. Plus, let’s be honest—there’s something deeply satisfying about seeing a fresh server boot up for the first time. Now, let’s dive into the hardware specifics and start building this thing.
Choosing the Hardware
Ah, hardware shopping—the adult version of being a kid in a candy store, except everything is significantly more expensive, and one wrong choice might leave you crying in a corner. When it came to building this server, I had three main goals: performance, efficiency, and not completely annihilating my wallet. After scouring AliExpress, Amazon, and Carousell, here’s where my money went:
-
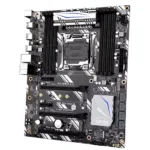 Motherboard with CPU & RAM SGD$ 436.77
The heart of this build is a X99 D8 motherboard, paired with an Intel Xeon E5-2690 v4 and a whopping 256GB of DDR4 RAM running at 2133MHz. All of this came in a bundle deal that honestly felt like I was cheating the system. A 14-core, 28-thread CPU backed by enough RAM to make Chrome tabs feel shame? Yes, please. Plus, the price was suspiciously reasonable (11.11 campaign)—like finding a gourmet meal at a roadside food stall. But hey, it works, and I’m not asking too many questions.
-
 be quiet! Pure Rock 2 SGD$ 30.00
Cooling is important unless you want your CPU to turn into molten slag. I picked up a be quiet! Pure Rock 2 cooler from Carousell for thirty bucks. It’s used, but in great shape—kind of like a well-maintained second-hand car. Plus, the brand literally tells you it’s “quiet,” and I appreciate that level of honesty in marketing.
-
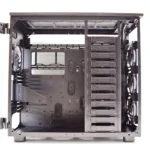 ThermalTake View 91 Case SGD$ 106.77
Okay, confession time. I didn’t research this one enough. The ThermalTake View 91 case is massive. And when I say massive, I mean, “Is this a server case or a small wardrobe?” Currently, it’s parked outside my house on a trolley, serving as a constant reminder to double-check dimensions before hitting the ‘Buy Now’ button. The cost also includes transport from the seller’s house because I couldn’t exactly strap it to my back and run home.
-
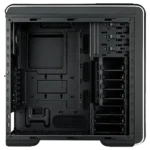 Cooler Master CM-690 ATX Case SGD$ 40.00
The Cooler Master CM-690 ATX case was another second-hand score from Carousell. It was listed for $35, but I threw in an extra $5 for delivery because transporting the ThermalTake case gave me both nightmares and I'm still discovering new bruises from transporting the behemoth back home alone. It’s sturdy, functional, and—most importantly—fits under my desk without requiring spatial rearrangement of my entire room.
-
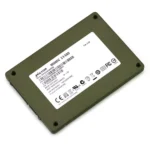 Micron M500DC 800GB SGD$ 60.00
Storage is critical for a server build, and this Micron M500DC 800GB enterprise SSD was a solid find. With 1900TB TBW (terabytes written) and only 3% wear, this drive has more stamina than most marathon runners. It’s currently serving as a dedicated drive for my Docker server, which, fun fact, also powers this website.
-
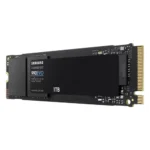 Samsung 990 EVO 1TB NVME SGD$ 102.97
For the boot drive, I went with the Samsung 990 EVO 1TB NVMe SSD. It’s fast, reliable, and was shipped straight from Amazon without any questionable detours. This drive makes sure the server boots up like it’s had three cups of espresso—quick efficient, and slightly jittery. It took 3 minutes for reboot. Yes, of course I timed it.
-
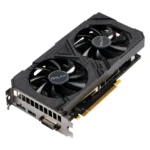 Galax GeForce GTX 1660 TI SGD$ 100.00
The Galax GeForce GTX 1660 Ti GPU was another Carousell find. Its main role? Acting as a hardware for Plex to transcode Linux ISOs. But let’s be honest, it’s also doing a little side hustle running local LLMs (Large Language Models). No judgment here—it’s a hard-working GPU in a world full of digital media and AI demands.
-
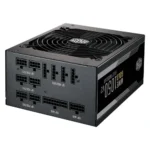 CoolerMaster MWE 750W Gold V2 SGD$ 115.80
Power supplies are not the place to cheap out, especially when you’re building something that’s going to run 24/7. I picked up the Cooler Master MWE 750W Gold V2 from Carousell via Mansa’s official account. The PSU cost SGD$ 100 brand new, with an extra SGD$ 15.80 for GrabExpress delivery. Yes, that’s right—I Uber’d my power supply across town because I wasn’t about to risk it rattling around in some courier’s van.
Total Cost: SGD$ 885.54 (excl. wrong case)
All in all, the total damage to my wallet came out to SGD$ 885.54. That’s not too shabby for a server packing this much firepower. If you exclude the ThermalTake View 91 case (currently moonlighting as modern art on my porch), the cost stays impressively low for what I’m getting.
Would I do it all over again? Absolutely. Would I measure case dimensions more carefully next time? You bet. But for now, this hardware lineup feels like a well-balanced recipe—powerful enough to handle everything I throw at it, efficient enough to not bankrupt me on electricity, and assembled with just the right amount of budget-conscious scavenging.
We’ll move on to setting up Proxmox and organizing this digital beast in the next article.
